Apple Application Configuration
In order to use Apple Sign In, you will require to have membership in the Apple Developer Program. In this guide, we'll guide you configure Apple Application to be implemented on your site.
Creating App ID
You will need to go login to Apple Developer Portal and click on Certificates, Identifiers and Profiles.

From the sidebar, choose Identifiers then click the blue plus icon.

Choose App IDs in the first step and click continue and choose type App in the next screen.
Click Continue and you will want to enter the Description and Bundle ID.
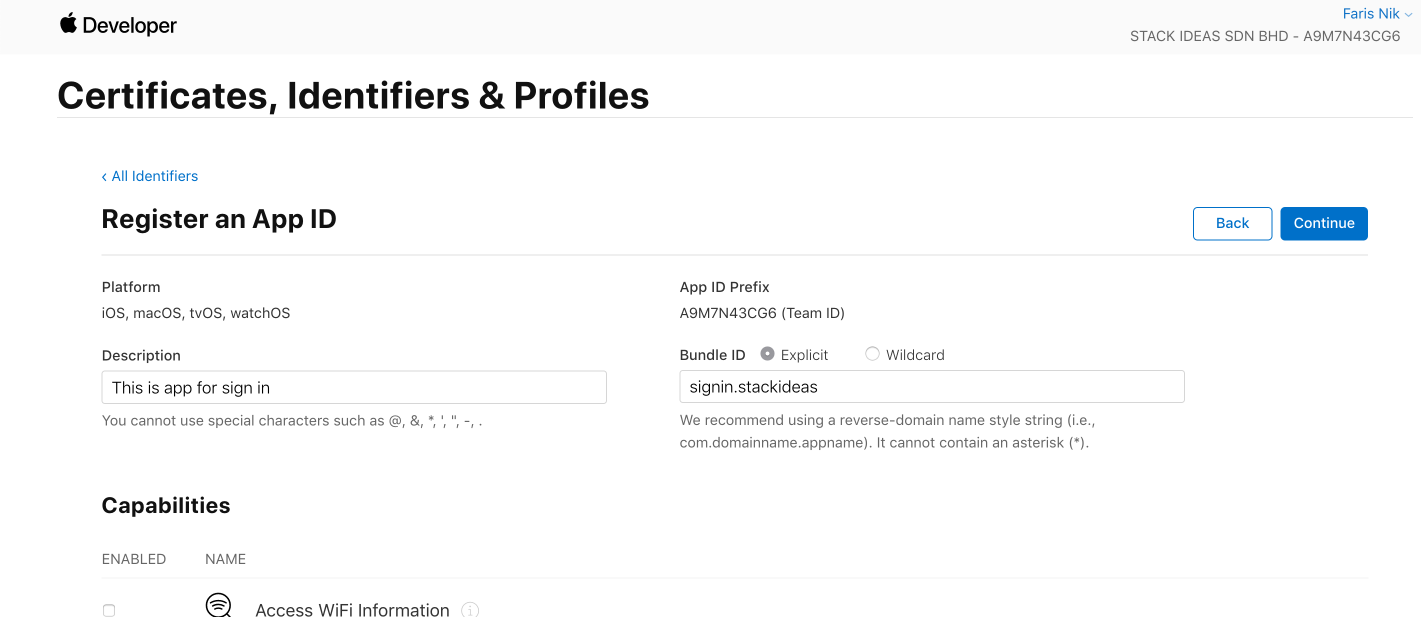
Next, scroll down until you see Sign In with Apple. Tick on the checkbox next to it. Then, click Continue.

Click Register to proceed.


Creating Services ID
- Again, choose Identifiers on the sidebar then click the blue plus icon.
- Choose Services IDs.
In the next step, define the name of the app as well as the identifier which will become the Oauth client_id. This client_id is needed later in EasySocial Back-end.

Click Continue, then click Register on the next page.
Go back to Identifiers listing page and filter by Services IDs. You will see the identifier you just created. Click on it.
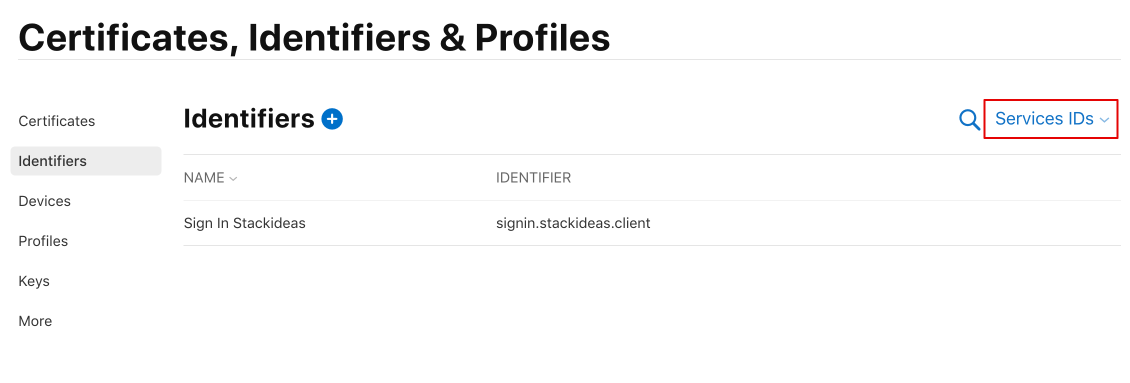
On the next page, tick Sign In with Apple and click on Configure button.

This is where you’ll define the domain your app is running on, as well as defining the redirect URLs used during the OAuth authentication.
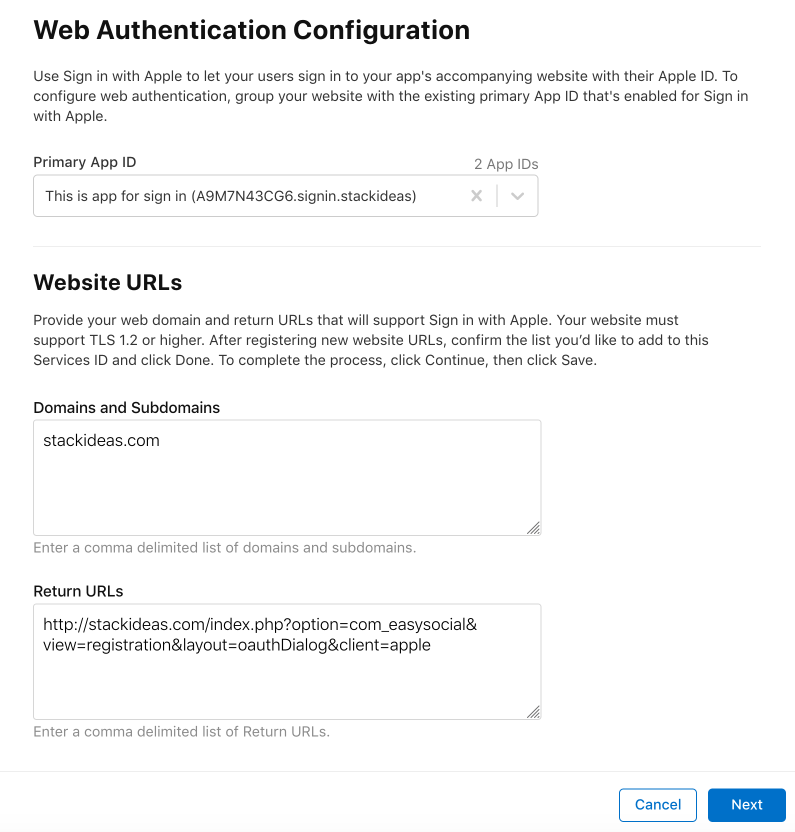
Make sure your associated App ID is selected as the Primary App ID and enter the domain name your app will be running at.
For the Redirect URL, you may want to copy it from your EasySocial Backend > Settings > Social > Apple Sign-In
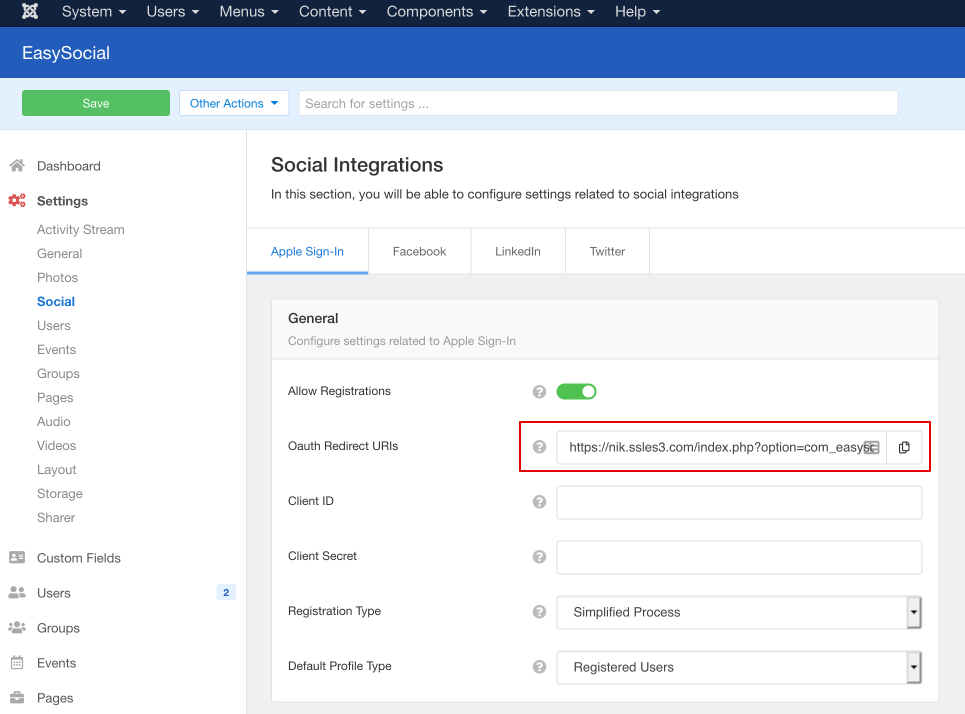
Go ahead and click Next and then Done. Once all the details are confirmed click Save on the previous page.


Creating Private Key
- Back in the main Certificates, Identifiers & Profiles screen, choose Keys from the side navigation.
- Click the blue (+) icon.
- Enter a name for the key and tick Sign In with Apple checkbox.
- Click on Configure next to the checkbox and select your primary App ID that you created earlier. Click Save.
- Click Continue button to proceed and click Register.
On the next page, you will be able to download .p8 key. Download it for later use.

You will also be given a Key ID which will be used later in EasySocial Back-end.

Generate Client Secret
- Go to EasySocial Backend > Settings > Social > Apple Sign-In.
- Client ID: Enter the client_id that was created earlier in Creating Services ID step.
Team ID: You can get your Team ID from the Apple Developer Portal - Certificates List
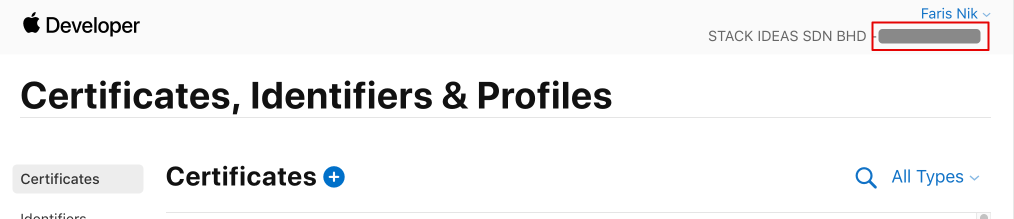
Key ID: This is the Key ID generated from the Creating Private Key section.
- Key File: Upload .p8 key file that you downloaded earlier.
- Click Save button.
- Once the setting is saved, you will see Client Secret field appeared.
- Click on the Generate button to generate token. Then Save the settings.

Important
This token will be generated using Json Web Tokens Generator by StackIdeas. An active EasySocial subscription is required to use the service.The token generator will get executed every 6 months via cronjobs before it gets expired. Please remember to setup the cronjobs for your site.
Extra: Register Domains with Apple
There are cases where user chose to Hide Email when registering to your site. Private relay email addresses will be used intead of real email.
To be able to send email to this addresses, you need to register your domain with Apple.
- First, you will need to add a Sender Policy Framework (SPF) DNS TXT record to your domain. You can consult with your hosting provider about this.
- Next, go to Apple Developer Portal and click on Certificates, Identifiers and Profiles.
- Select More from the sidebar and click on
Configurebutton. - Click on
+next to the Email Sources. Add your SPF enabled domain under Domains and Subdomains section.


